

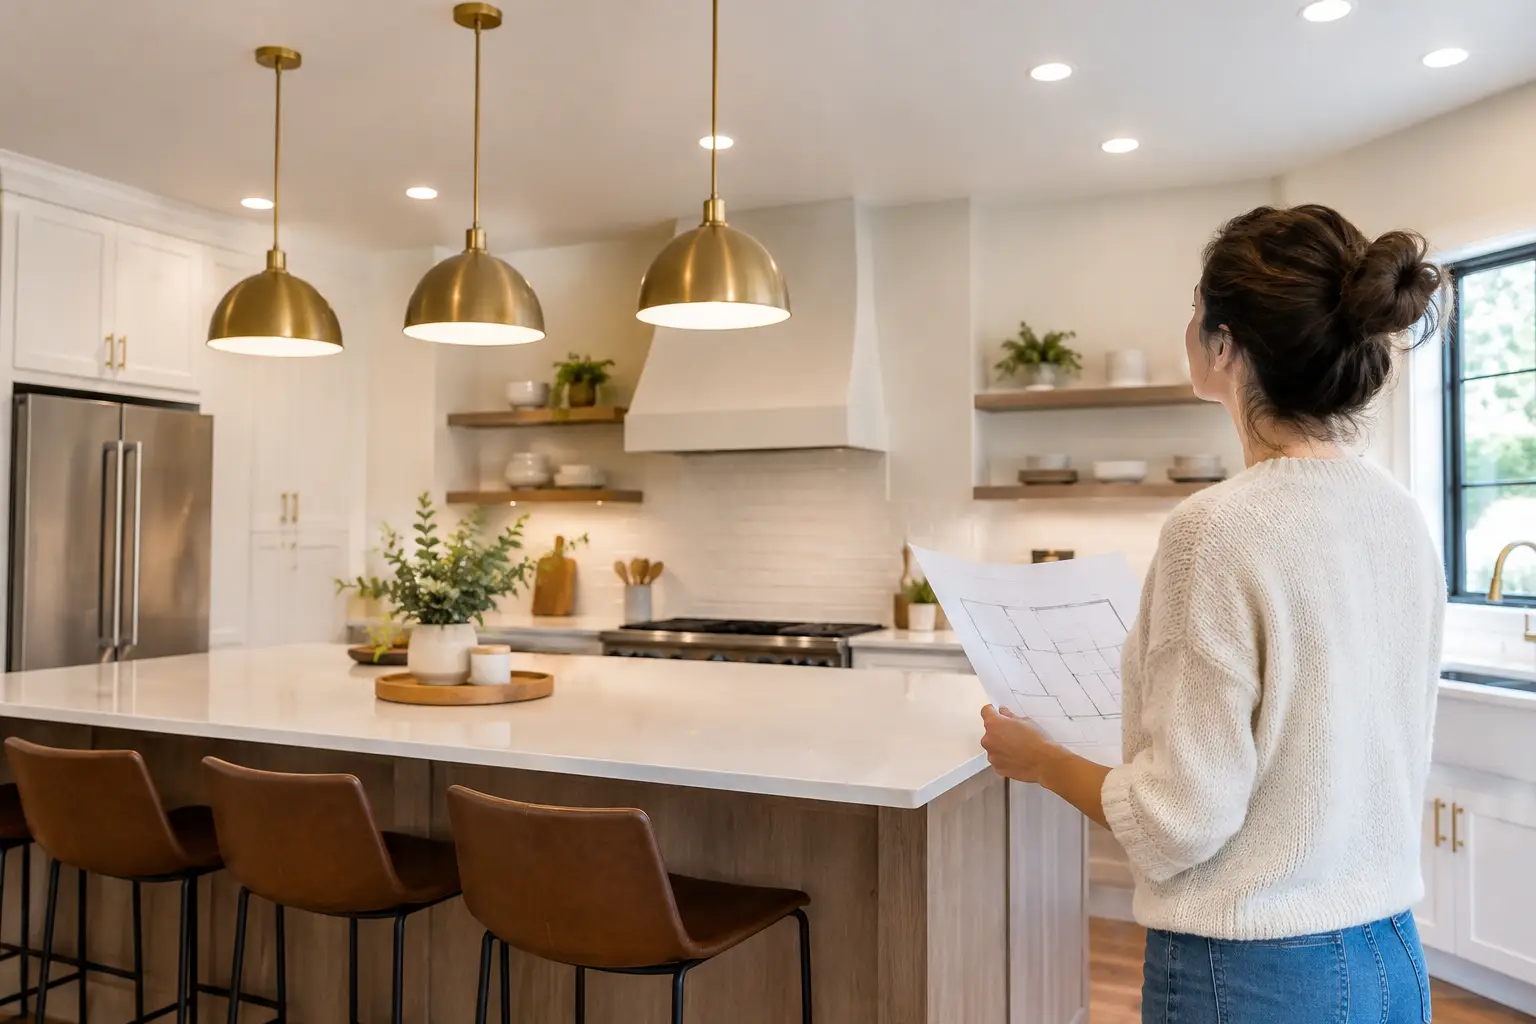
A beautiful new kitchen can still feel frustrating if the light falls in the wrong places. Shadows across the countertop make food prep harder, a harsh ceiling fixture can flatten a carefully chosen backsplash, and dim corners can make even a spacious room feel closed in. Knowing how to plan kitchen lighting before cabinets, tile, and appliances are installed helps prevent expensive changes later.
The most successful lighting plans are built around how your household actually uses the room. A kitchen is a work area, a gathering place, and often the center of daily routines. It needs light for safe preparation and cleanup, comfortable general brightness, and details that make the finished space feel warm rather than clinical.
How to Plan Kitchen Lighting in Layers
Kitchen lighting should not depend on one central ceiling fixture. The right approach is layered lighting, where different sources handle different jobs. This gives you flexibility throughout the day and helps the kitchen feel balanced at night.
The three essential layers are ambient, task, and accent lighting. Ambient lighting provides the overall brightness that lets people move through the room safely. Task lighting focuses on working zones such as countertops, sinks, cooktops, and islands. Accent lighting adds depth and highlights features you have invested in, including glass-front cabinets, open shelving, textured tile, or a feature wall.
A fourth layer, decorative lighting, is often worth considering over an island or dining area. Pendants and statement fixtures can give the kitchen a finished look, but they should support the plan rather than carry it. A pair of attractive pendants will not adequately light the perimeter counters on their own.
Start with the Kitchen Layout, Not the Fixtures
Before choosing fixture styles, review the floor plan. Mark where food is prepared, where dishes are washed, where people sit, and where cabinet doors or pantry doors open. Lighting should follow these zones.
For example, a kitchen with long perimeter counters needs consistent under-cabinet lighting. A large island used for chopping, homework, and serving meals needs both functional overhead light and glare control. A galley kitchen may need careful ceiling placement so the person standing at the counter is not working in their own shadow.
This is also the time to consider the ceiling height, window locations, and any beams or bulkheads. These details affect fixture placement and can limit where recessed lights, pendants, or track lighting will work. Addressing them early helps your renovation team coordinate electrical work before drywall, cabinetry, and finishes are complete.
Plan Task Lighting for Every Work Surface
Task lighting has the greatest impact on daily comfort. The goal is simple: illuminate the surface where the work happens, not the back of the person doing it.
Under-cabinet lighting is one of the most effective upgrades in a kitchen renovation. Installed toward the front of upper cabinets, it directs light down across the full countertop and reduces shadows. LED strip lighting in an aluminum channel often gives a clean, even result. It is especially useful beside the sink, along prep counters, and around small appliances.
If there are no upper cabinets, task lighting needs another solution. Recessed ceiling lights can work well when positioned in front of the counter edge, rather than directly over the middle of the floor. This placement sends light toward the work surface instead of leaving the counter in shadow.
The sink deserves dedicated attention. A recessed light, small ceiling fixture, or well-placed pendant can provide useful visibility for washing dishes and cleaning. Avoid relying solely on light from behind the sink, particularly if the sink sits under a window. Daylight is helpful, but it changes dramatically from morning to evening.
For a cooktop, the range hood light is part of the plan, but it should not be the only source. Supplemental ceiling lighting helps make the surrounding counter space easier to use and keeps the cooking zone from feeling overly dark.
Choose Ambient Lighting That Feels Even
Ambient lighting creates the base level of brightness across the room. Recessed downlights are a practical choice for many kitchens because they are unobtrusive and can be placed around cabinets, walkways, and work zones. They are not the only option, though. Surface-mounted fixtures, slim LED ceiling lights, and track systems can be better suited to certain ceiling types or renovation budgets.
The key is spacing and placement. Too few downlights leave dark patches, while too many can make a kitchen feel like a showroom. A thoughtful layout provides even coverage without filling every section of the ceiling with fixtures.
Avoid placing recessed lights too close to upper cabinets. The cabinet faces can block the light and create uneven shadows. Instead, position fixtures to support the counter below and maintain comfortable illumination in walkways. The exact spacing depends on ceiling height, fixture beam angle, and the amount of natural light, so this is an area where professional planning is valuable.
Select the Right Color Temperature and Light Quality
Light color changes how cabinetry, countertops, paint, and tile appear. For most residential kitchens, warm white to neutral white lighting is a comfortable choice. Many homeowners prefer 2700K to 3000K for a welcoming feel, especially in kitchens connected to living and dining spaces. Around 3500K can feel brighter and more contemporary, but may appear cooler depending on the finishes.
There is no single correct setting. A crisp white kitchen with gray stone may suit a slightly cooler temperature, while warm timber cabinetry and cream tile often look better under warmer light. The best approach is to view samples of your chosen finishes under the proposed lighting before finalizing the selection.
Also look for high color rendering. A fixture with a high CRI, ideally 90 or above, shows colors more accurately. This matters when checking the appearance of food, matching finishes, and appreciating the true tone of your cabinetry and backsplash.
Use Decorative Fixtures Carefully
Pendants over an island can bring personality to a kitchen, but scale and positioning matter. A fixture that is too large can block sightlines and feel crowded. One that is too small may disappear in the room or fail to provide useful light.
As a general starting point, pendants should hang high enough to preserve conversation and views across the kitchen, while still feeling connected to the island. Their final height depends on ceiling height, fixture size, and whether the island includes seating. A larger island may suit two or three smaller pendants, while a compact island may need only one carefully chosen fixture.
Consider glare as well. Exposed bulbs and clear glass can look appealing, but they may be uncomfortable when viewed from a seated position. Frosted glass, shaded fixtures, and dimmable bulbs can create a more relaxed result.
Put Lighting Controls Where They Make Sense
Good controls make a lighting plan easier to live with. Separate switches or dimmers allow you to adjust ambient, task, and decorative lights independently. You may want full brightness while preparing dinner, then softer light when guests are seated at the island.
Dimmers are particularly useful in open-plan homes, where the kitchen remains visible from the living area. They allow the room to shift from a practical daytime workspace to a calmer evening setting without sacrificing function.
Think about switch locations early. Entry points, pantry doors, and routes to adjoining rooms should all be considered. In larger kitchens, three-way switching can prevent the inconvenience of crossing the room to turn lights off. Smart controls can be useful, but they are optional. A well-planned, clearly labeled conventional switch layout remains dependable and easy for every household member to use.
Coordinate Lighting Before Construction Begins
Lighting decisions affect more than the electrical plan. Cabinet heights, range hood design, ceiling details, wall finishes, and island dimensions all influence what is possible. Waiting until the end of a renovation can lead to compromises such as awkward fixture locations, exposed wiring, or missing task light where it is most needed.
During the planning stage, confirm fixture locations with the cabinet layout and appliance specifications. Check that pendants clear cabinet doors and sightlines, that under-cabinet lighting has an appropriate power source, and that recessed fixtures do not conflict with framing, ducts, or ventilation. If you are updating an older home, allow for the possibility that electrical upgrades may be required to safely support the new layout.
A coordinated renovation plan keeps these details visible from the beginning. DY Construction Group helps homeowners make practical decisions across layout, cabinetry, finishes, and lighting so the finished kitchen works as one complete space.
The best kitchen lighting is rarely the most noticeable feature when it is working well. It simply makes every counter easier to use, every finish look more considered, and every evening in the kitchen feel more comfortable.