

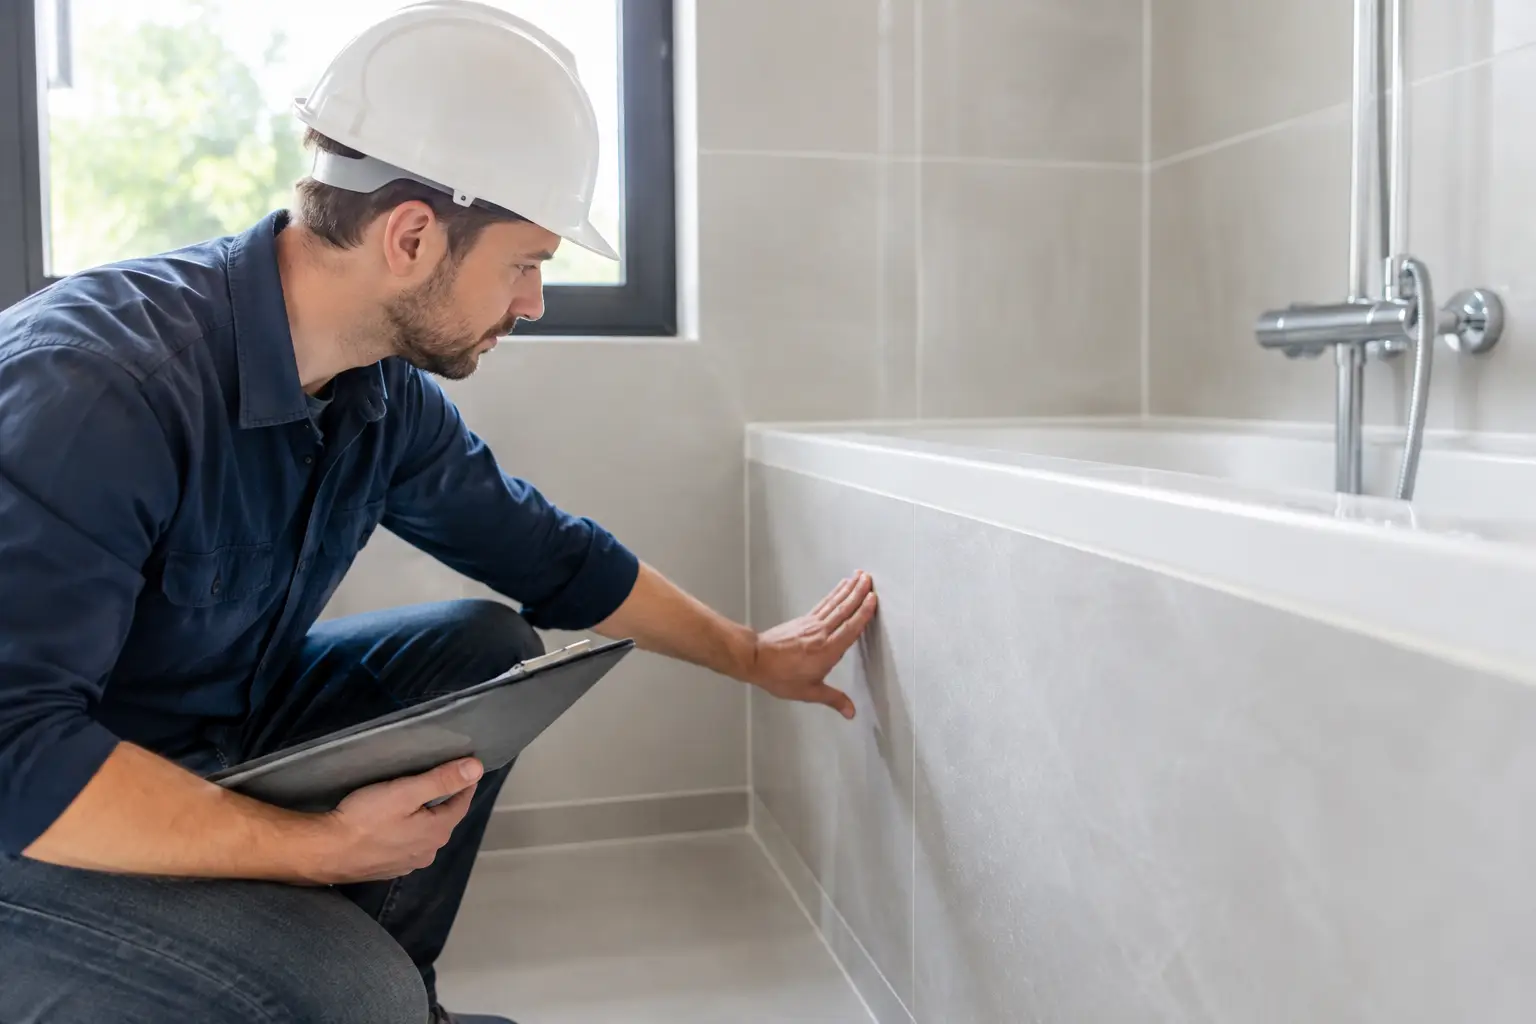
A bathroom can look complete long before it is truly ready for use. Tile, fixtures, and a new vanity may get the attention, but the waterproofing hidden behind them protects the structure of the home. A thorough waterproofing review helps homeowners confirm that this critical stage has been planned, completed, and checked before the finished surfaces conceal the work.
For a renovation to deliver long-term comfort and value, waterproofing should never be treated as a quick step between demolition and tiling. It needs the right preparation, compatible materials, careful detailing, and enough time to cure. Getting those details right can prevent leaks, damaged framing, mold growth, and the cost of removing a newly finished bathroom to repair what should have been handled from the start.
Why a Waterproofing Review Matters
Bathrooms experience moisture every day, even when there is no obvious plumbing leak. Shower walls receive direct water exposure, floors handle splashes and wet feet, and steam can affect surfaces throughout the room. In a well-built bathroom, the waterproofing system directs that moisture away from vulnerable areas and toward the drain where appropriate.
The problem is that waterproofing is mostly invisible after the renovation. Once tile and grout are installed, it is difficult to see whether the membrane reaches the proper height, whether corners were reinforced, or whether the drain connection was sealed correctly. A review at the right point in the project creates an opportunity to inspect the work while adjustments are still practical.
This is not about expecting homeowners to become waterproofing specialists. It is about knowing what good project management looks like and asking clear questions before the next stage begins. A professional contractor should be comfortable explaining the process, showing the completed waterproofed areas, and identifying how the system will be protected before tiling.
What Should Be Checked Before Tile Goes Up
Waterproofing quality starts before the membrane is applied. The surface beneath it must be clean, stable, dry, and correctly prepared. Loose material, dusty surfaces, poorly secured boards, or uneven transitions can compromise the bond between the substrate and the waterproofing system.
The Shower Area Needs Complete Coverage
A shower is the highest-risk area in most bathrooms. The floor, walls, corners, niches, penetrations for plumbing fixtures, and the connection around the drain all need careful treatment. Simply coating large flat areas is not enough. Water tends to find gaps at joints, changes in direction, and fixture openings.
Ask your contractor to point out the waterproofed shower footprint and wall coverage before tile is installed. The exact requirements can vary based on local building codes, the shower design, and the chosen waterproofing system. A walk-in shower, for example, may need a broader waterproofed floor area than a traditional enclosed shower because water can travel beyond the immediate spray zone.
Corners, Seams, and Penetrations Deserve Extra Attention
Flat walls and floors are generally straightforward. The details are where waterproofing work proves its quality. Internal corners, wall-to-floor junctions, board seams, pipe penetrations, and shower niches need reinforcement or sealing methods that work with the selected membrane.
A niche can be especially vulnerable because it interrupts the wall surface and holds bottles, soap, and standing water. It should be properly sloped so water drains out rather than pooling at the back. The same principle applies to horizontal ledges, shower benches, and window sills located within wet areas.
Drain and Floor Slope Must Work Together
Waterproofing cannot correct a floor that does not drain properly. The shower floor should be sloped toward the drain so water moves away instead of collecting in corners or along walls. If a curbless shower is planned, this coordination becomes even more important because the bathroom floor, shower entry, drain location, and tile selection all affect how water behaves.
During the review, look for a clear plan around the drain. The waterproofing system should connect correctly to the drain assembly, creating a continuous barrier rather than leaving a weak point where water can enter below the finished surface.
Questions Homeowners Should Ask During the Review
A good contractor will communicate proactively, but homeowners should still feel comfortable asking questions. The goal is not to challenge every technical decision. It is to confirm that the work is organized, documented, and moving forward with care.
Start by asking which waterproofing system is being used and whether all components are designed to work together. Mixing products without confirming compatibility can create unnecessary risk. You can also ask when the membrane was applied, how long it needs to cure, and when tile installation is scheduled to begin.
It is reasonable to ask whether a water test is appropriate for the project. A flood test, when applicable, involves temporarily holding water in a contained shower area to check for leaks before finishes are installed. Not every bathroom layout or stage of construction allows for the same testing method, so the right answer may depend on the design. What matters is that the contractor has a clear quality-control process rather than relying on appearance alone.
Photographs are also useful. Requesting progress photos of the waterproofed bathroom before tile installation creates a simple record of the work behind the walls and floor. This can be valuable for your own peace of mind, future maintenance, and documentation if you sell the home later.
Common Warning Signs to Address Early
Waterproofing problems are often easier to correct before finishes are installed. If something looks rushed or unclear, raise it immediately. Waiting until the bathroom is complete can turn a manageable conversation into an expensive repair.
Watch for incomplete coating around pipe openings, visible gaps at corners, uneven membrane coverage, or areas where the coating appears damaged after it has cured. Also pay attention to scheduling. If tile installation begins before the waterproofing has had adequate curing time, the system may not perform as intended.
A strong renovation team protects completed waterproofing while other work continues. Foot traffic, dropped tools, and adhesive preparation can damage the membrane. If the surface is punctured or scraped, it should be repaired according to the product system before tile is laid.
There are also warning signs that may appear after the renovation is complete. Loose tiles, persistent musty odors, peeling paint on an adjacent wall, swelling baseboards, or stains on a ceiling below a bathroom should be investigated promptly. These issues do not always mean waterproofing has failed, but they should not be ignored.
Waterproofing Is Part of the Whole Renovation Plan
The best bathroom renovations coordinate waterproofing with every surrounding decision. Tile size, grout joints, shower glass placement, recessed niches, linear drains, ventilation, and fixture locations all influence how moisture is managed. Design and construction should support one another rather than being handled as separate tasks.
For example, a large-format tile can create a clean, modern appearance, but it may require precise floor preparation to maintain correct drainage in a shower. A frameless glass panel can make a bathroom feel more open, yet the layout needs to limit water escaping into dry areas. These are not reasons to avoid the features homeowners want. They are reasons to plan them carefully from the outset.
Ventilation matters as well. Waterproofing protects concealed building materials from direct moisture intrusion, while an effective exhaust fan helps control humidity after showers. Both are needed for a bathroom that remains comfortable and durable over time.
Choosing the Right Level of Detail for Your Project
Not every bathroom renovation has the same scope. Replacing a vanity outside the wet zone is different from rebuilding a shower, relocating plumbing, or installing a curbless layout. The more a project changes the room’s wet areas, the more valuable a formal waterproofing review becomes.
For a full bathroom remodel, build the review into the schedule before tile installation. Confirm who is responsible for the waterproofing, what system they are using, what inspections or tests will be completed, and how the work will be documented. Clear communication at this stage protects the budget, the schedule, and the finished result.
A bathroom should feel like one of the easiest rooms in the home to use. Taking the time to review what sits beneath the tile is a practical way to help keep it that way for years to come.