

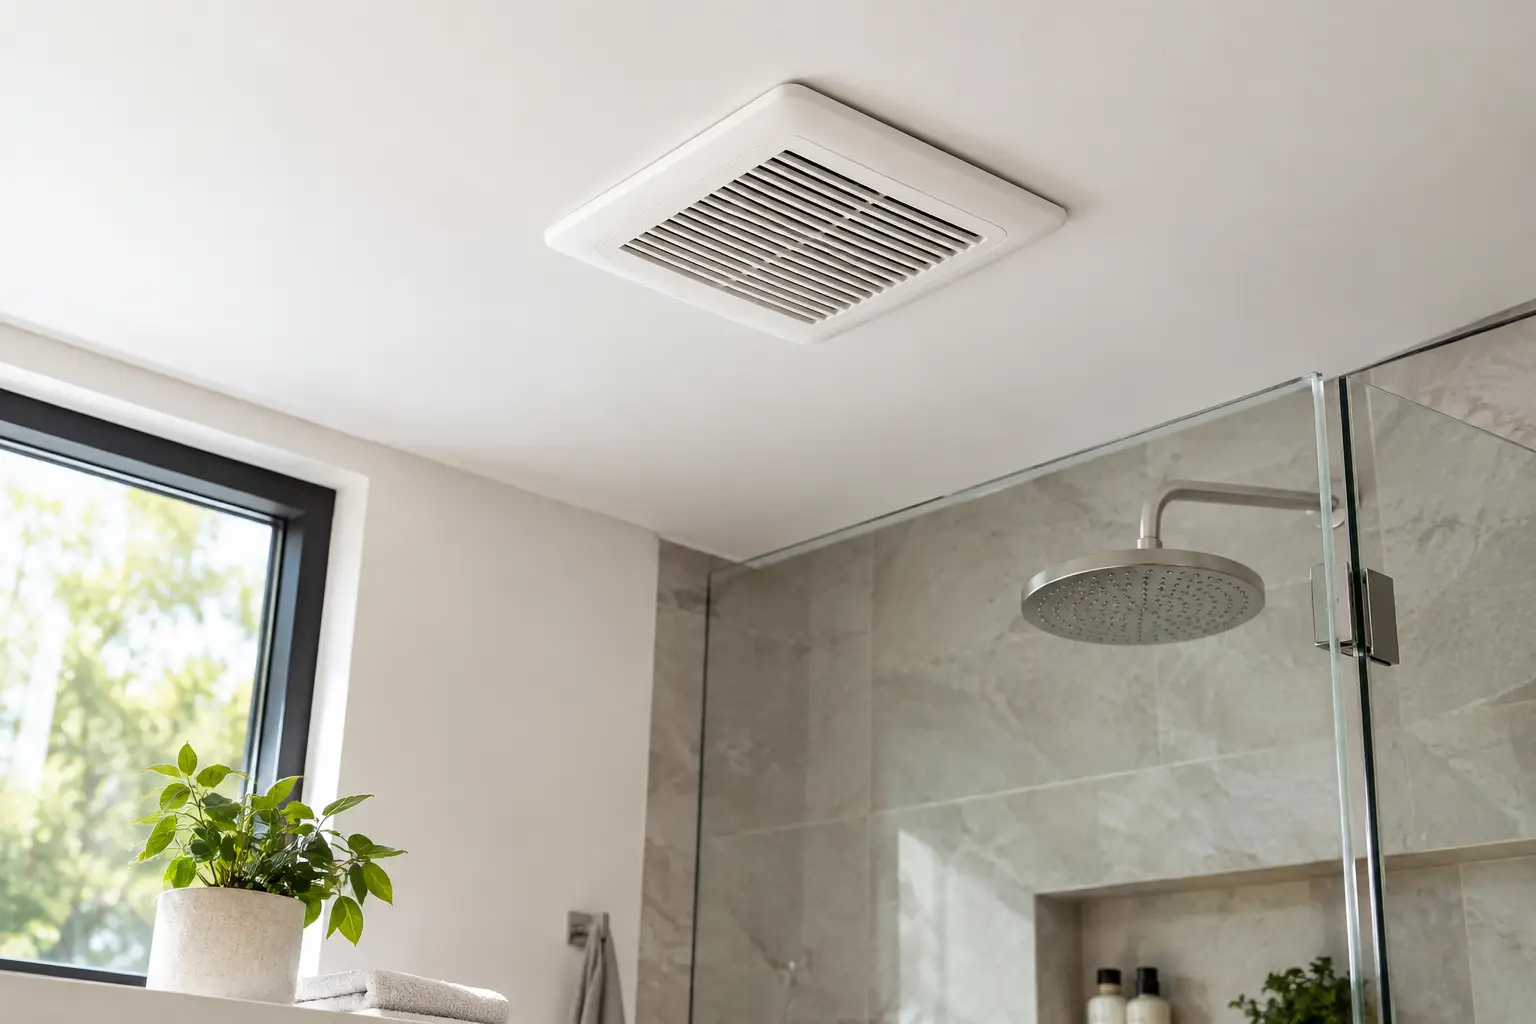
A bathroom that stays damp long after a shower is not just uncomfortable. Lingering moisture can lead to peeling paint, fogged mirrors, musty odors, mildew, and damage around ceilings, trim, and cabinetry. The best bathroom exhaust fans remove humid air efficiently while fitting the way your household actually uses the room.
For a bathroom renovation, the fan should be planned early rather than treated as a final fixture. Its location, duct route, noise level, controls, and exterior vent all affect how well it performs. A well-chosen unit is a practical upgrade that protects the finish work you have invested in and makes the room more pleasant every day.
What Makes the Best Bathroom Exhaust Fans Work Well?
The right fan is not always the largest or most expensive option. It needs enough airflow for the room, a sensible duct run, and controls that encourage people to use it. A powerful fan connected to a long, poorly installed duct can still leave the bathroom humid.
Start with airflow, measured in CFM, or cubic feet per minute. For many standard bathrooms, a minimum of 50 CFM is a common starting point. Larger rooms, bathrooms with high ceilings, enclosed showers, tubs used often, or multiple moisture-producing fixtures usually need more capacity. As a simple guide, many professionals allow roughly 1 CFM per square foot for a typical bathroom, then adjust for the layout and moisture load.
A compact powder room may perform well with a modest fan. A large primary bathroom with a walk-in shower, freestanding tub, and enclosed toilet area may require separate ventilation zones or a higher-capacity unit. This is why sizing should be based on the room itself, not simply on what was installed years ago.
Noise is the next major consideration. Fan sound is measured in sones. Lower numbers mean quieter operation. Around 1 sone is very quiet, while a fan rated at 3 sones or more will be clearly noticeable. Some homeowners prefer a little sound for privacy, but an excessively loud fan often gets switched off too soon. For frequently used bathrooms, a quiet fan is usually worth the added cost.
Energy efficiency matters as well, especially when a fan runs on a timer or humidity sensor. Efficient motors can reduce operating costs and are often quieter. The savings on electricity may be modest, but reliable moisture control can help avoid far more expensive repairs to paint, drywall, insulation, and timber framing.
Choosing the Right Fan Type for Your Bathroom
The best choice depends on the room layout, existing ceiling space, and how much work is planned for the renovation. Several fan styles can suit a residential bathroom, but each has different strengths.
Standard ceiling exhaust fans
A ceiling-mounted fan is the most common solution. It pulls humid air upward and sends it through ducting to an exterior vent. This option works well in most bathrooms when there is attic or ceiling-cavity access and a direct path outdoors.
During a full bathroom remodel, a ceiling fan can be positioned closer to the shower or tub, where moisture is created, without interfering with lighting or the overall design. It should not be installed inside a shower area unless the model is specifically rated for that use and the electrical installation meets applicable requirements.
Combination fan, light, and heater units
Combination units can be useful where ceiling space is limited or homeowners want fewer fixtures. They may include an exhaust fan with a light, heat lamp, or built-in heater. A heater can make a cold bathroom more comfortable, but it also requires the right electrical circuit and clearances.
These units are convenient, though they are not automatically the best ventilation solution. Check the fan’s CFM and sone rating separately from its lighting or heating features. A stylish all-in-one unit that moves too little air may still leave moisture behind.
Inline exhaust fans
An inline fan is installed within the duct run rather than directly in the ceiling grille. Because the motor sits away from the bathroom, it can be a good option for homeowners who want very quiet operation. One inline system may also ventilate more than one area, depending on the design.
This option is particularly useful in larger renovations, bathrooms with limited ceiling depth, or layouts where a long duct run cannot be avoided. It requires more careful planning and professional installation, but the performance and reduced noise can be worthwhile.
Wall-mounted exhaust fans
Wall-mounted fans exhaust directly through an exterior wall. They can be practical where roof or attic access is difficult, such as a ground-floor bathroom with an outside wall nearby. The trade-off is that placement choices may be more limited, and the exterior grille needs to be installed neatly and weatherproofed correctly.
Ducting Matters as Much as the Fan
A quality fan cannot compensate for poor ducting. Moist air must be carried outside, not released into an attic, crawlspace, wall cavity, or garage. Venting moisture into enclosed building spaces can create condensation and mold problems out of sight.
The duct should be sized to suit the fan and run as directly as possible to the exterior. Long runs, sharp bends, sagging flexible duct, and undersized ducting reduce airflow and increase noise. Smooth, properly supported ducting generally performs better than flexible duct that has been compressed or bent around obstacles.
The exterior termination also deserves attention. It should have a proper hood or cap with a backdraft damper to help prevent outside air, pests, and rain from entering the duct. In colder climates, insulated ducting can reduce condensation. In any climate, the goal is the same: move humid air out quickly and prevent it from returning.
For homeowners replacing only an existing fan, the old duct route should be inspected before selecting a more powerful unit. Installing a high-CFM fan on a small or restricted duct can create disappointing results. It may be better to improve the duct route as part of the upgrade.
Controls That Make Ventilation Easier
Even the best bathroom exhaust fans only work when they are used. Simple controls can make a meaningful difference.
A timer switch is one of the most practical upgrades. It allows the fan to keep running for 10, 20, or 30 minutes after a shower without relying on someone to remember to turn it off. This is especially useful in busy family homes, guest bathrooms, and bathrooms used early in the morning when everyone is rushing.
Humidity-sensing fans are another smart option. They turn on when moisture levels rise and continue running until the humidity falls. These can be helpful for children, guests, or anyone who tends to skip the fan switch. However, sensor performance depends on correct placement and calibration. In a naturally humid region or a bathroom near a laundry area, the fan may run more often than expected.
A fan connected to the light switch is straightforward but less flexible. It ensures the fan starts when the room is occupied, yet some people turn the light off before the room has dried. Pairing the light switch with a timer is often the more dependable approach.
Common Mistakes to Avoid During Installation
Bathroom ventilation problems are often installation problems rather than product problems. Avoid selecting a fan based solely on a quiet rating or attractive grille. Airflow capacity, ducting, and exterior discharge need equal attention.
Do not assume an old opening will suit a new fan. Ceiling joists, wiring, plumbing, insulation, and the housing dimensions may affect what can be installed safely. It is also worth checking whether the existing fan is actually vented outdoors. In older homes, this is not always the case.
Another frequent mistake is placing the fan too far from the shower. A fan near the bathroom door may eventually clear the room, but it will not capture steam as effectively as one located near the main moisture source. In a larger bathroom, one fan may not be enough for every zone.
Electrical work, duct connections, roof or wall penetrations, and waterproofing around penetrations should be handled with care. A professional installation helps ensure the fan is secure, correctly ducted, and suitable for the space. It also protects the quality of a newly renovated ceiling and wall finish.
When to Replace Your Existing Exhaust Fan
A fan that rattles, hums without moving much air, smells dusty when running, or leaves condensation on the mirror is worth investigating. Cleaning the grille and housing can improve performance when dust buildup is the issue. But if the motor is failing, the fan is undersized, or the ducting is ineffective, replacement is the better long-term solution.
A bathroom renovation is the ideal time to make the upgrade because access is easier before new drywall, tile, paint, and cabinetry are complete. At DY Construction Group, ventilation is considered alongside lighting, cabinetry, tile selection, and layout so the finished bathroom looks good and performs properly.
The right exhaust fan is a small detail with a daily impact. Choose one that suits the size and use of your bathroom, give it a clear route outdoors, and use controls that keep moisture from settling in after the shower is over.